Menu
open menu
close menu


- Products
- Self-Storage
- Commercial/Industrial
- Nokē™ Smart Entry
- Resources
- Events
- Investors
- About Us


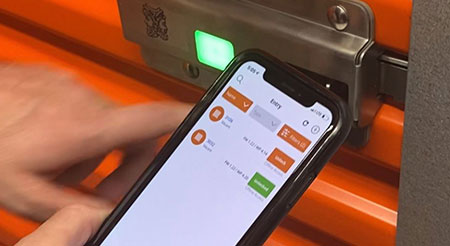

Did we mention the Nokē Smart Entry system is the only truly cloud-based access control system with an electronic locking solution available to the self-storage industry?
There’s no question that this is truly the best option available to your facility for an unprecedented level of security.
If you’re ready to partner with the largest and most dynamic self-storage solutions provider, look no further than Janus International.